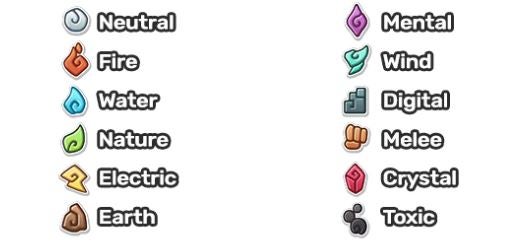
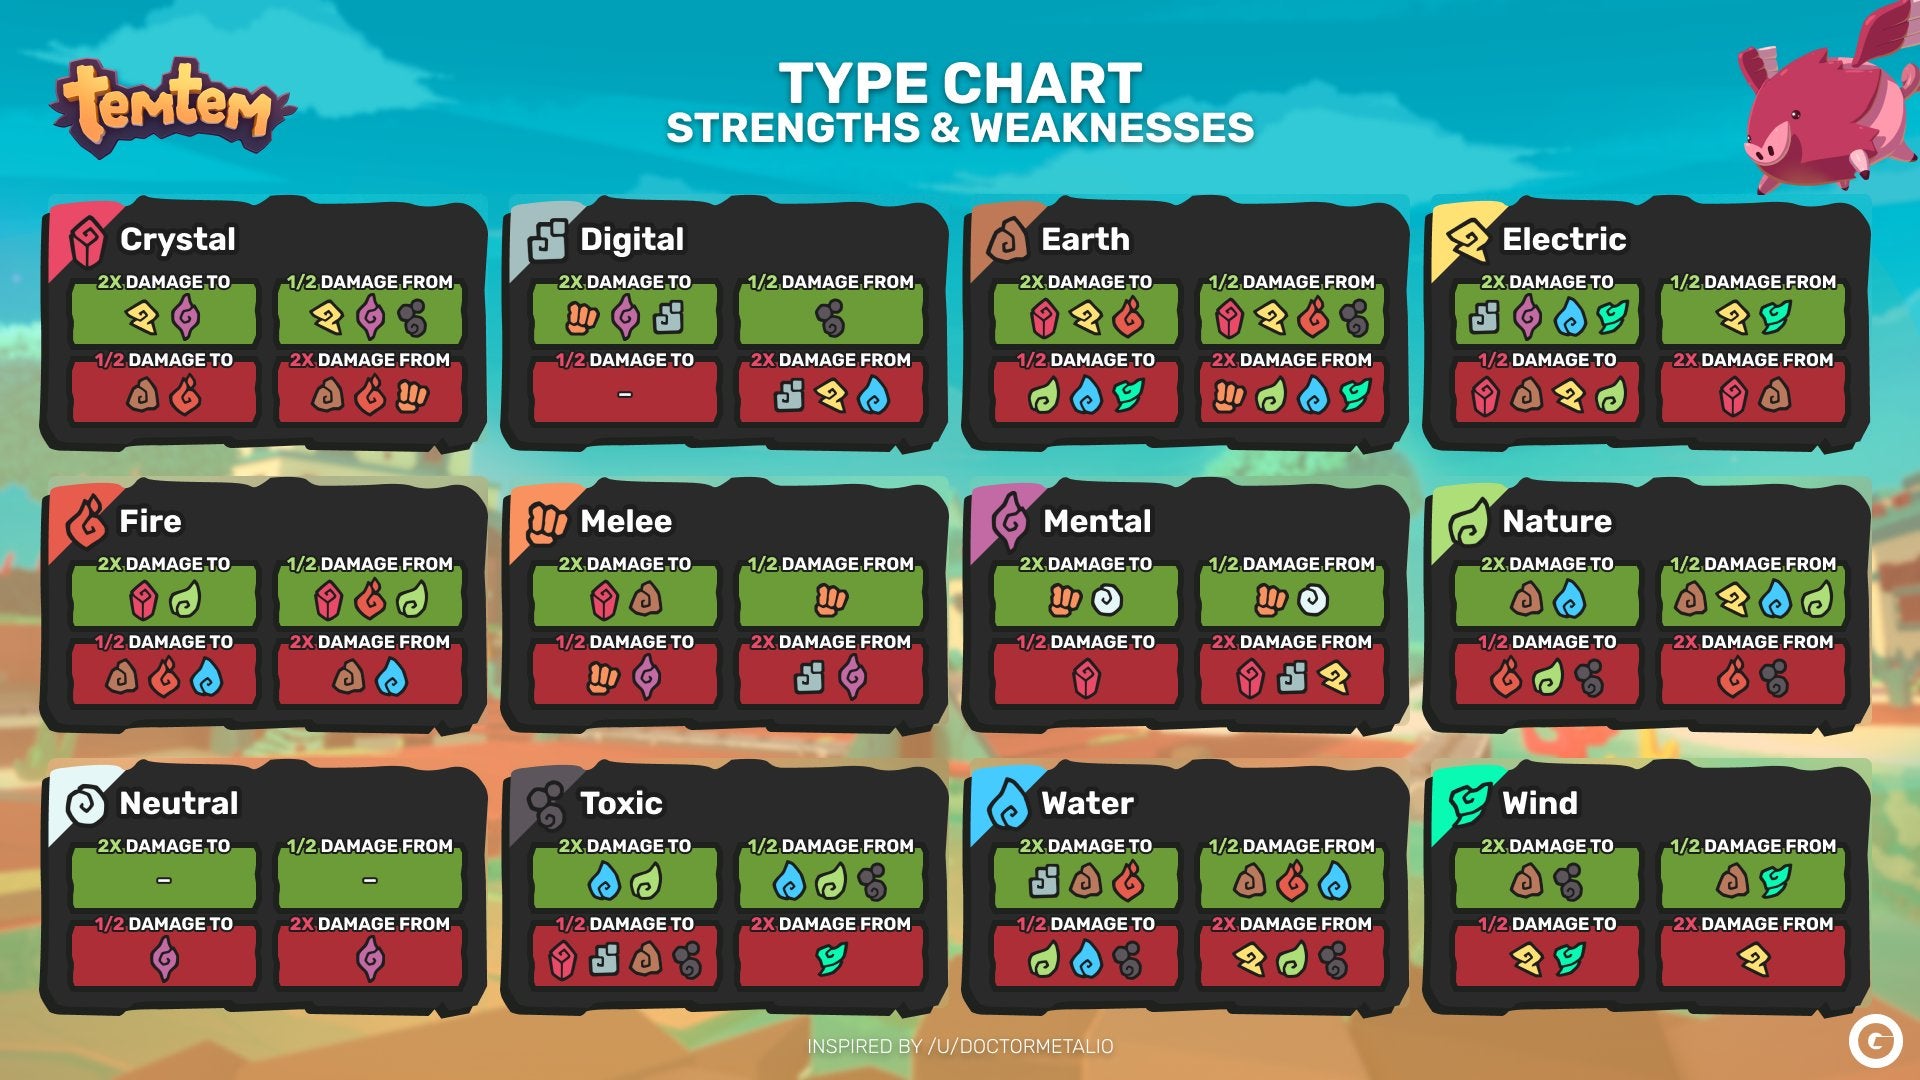
Though Temtem shares many similarities with its inspiration, Pokémon - including a series of Types that every creature and their move fits into - the Types themselves are different, as do how they interact. This Temtem Type chart shows at a glance how they all work against one another, with Temtem weaknesses and Temtem strengths explained. On this page: Generally, Temtem’s Types work as you’d expect the elements they are based on would, especially if you’ve played Pokémon - for example Water being effective against Fire, Fire is effective against Grass, and Grass is effective against Water. That said, there are some get differences; the Temtem starters don’t fit into this tradition; there are fewer Types than Pokémon; and though there are some obvious comparisons - Mental is Psychic, for example - there’s also some new elements such as Digital and Crystal to learn. If you’re not familiar with how Types work at all, they operate on weaknesses and strengths. A Type can be strong against another Type (double, or x2 damage) or weak against another Type (half, or x0.5 damage), and if it isn’t one of these, then regular (x1 damage) applies. Additionally, since a Temtem can be multiple Types, these strengths can stack - allowing for x4 damage if it’s a double weakness. By the same token, they can cancel each other out if a move is both weak and strong against the Temtem’s two Types. All this is useful not only to know when positioning a Temtem against another in the heat of battle, but also when catching and constructing your squad. If you know you are going up against a certain set of Types ahead of time, then you’ll want to minimise your weaknesses and increase your strengths. And if you don’t know what’s coming, then having a well-rounded squad with as many options against every Type is highly recommended. If you prefer a temple, here’s a Temtem type chart on what’s effective against what in alphabetical order: